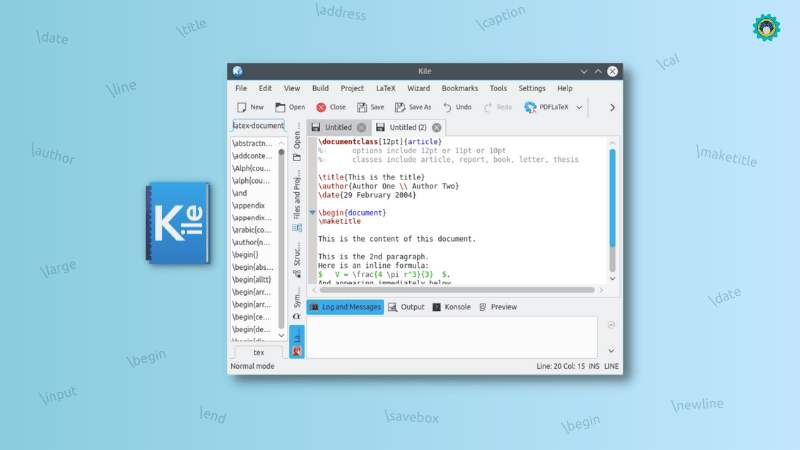
使用 LaTeX 创建优美的 PDF 文件

使用 LaTeX 标记语言来撰写文档。
LaTeX 文件准备系统有一段有趣的历史。在 1968 年,程序员 Don Knuth 用一种老式印刷排版方式,撰写了他的第一本书《 计算机程序设计艺术 》。当他在 1976 年出版第二版时,出版商已经转向现代照相排版技术。
Knuth 对新版本的外观不满意。他从程序员的角度解决问题,决定创建他自己的文字处理系统,这样以后他出版的书就可以以相同格式排版,拥有相同的外观。因此,Don Knuth 在 1978 年编写了第一版 TeX 。
几年后,Leslie Lamport 创建了一组宏定义,以便作者更容易编写复杂文档。Lamport 的宏定义扩展,即 LaTeX,有效地扩展了 TeX 能够轻松创建各种文档。例如,许多学术组织使用 LaTeX 出版期刊和论文集。
使用 LaTeX 编写文档
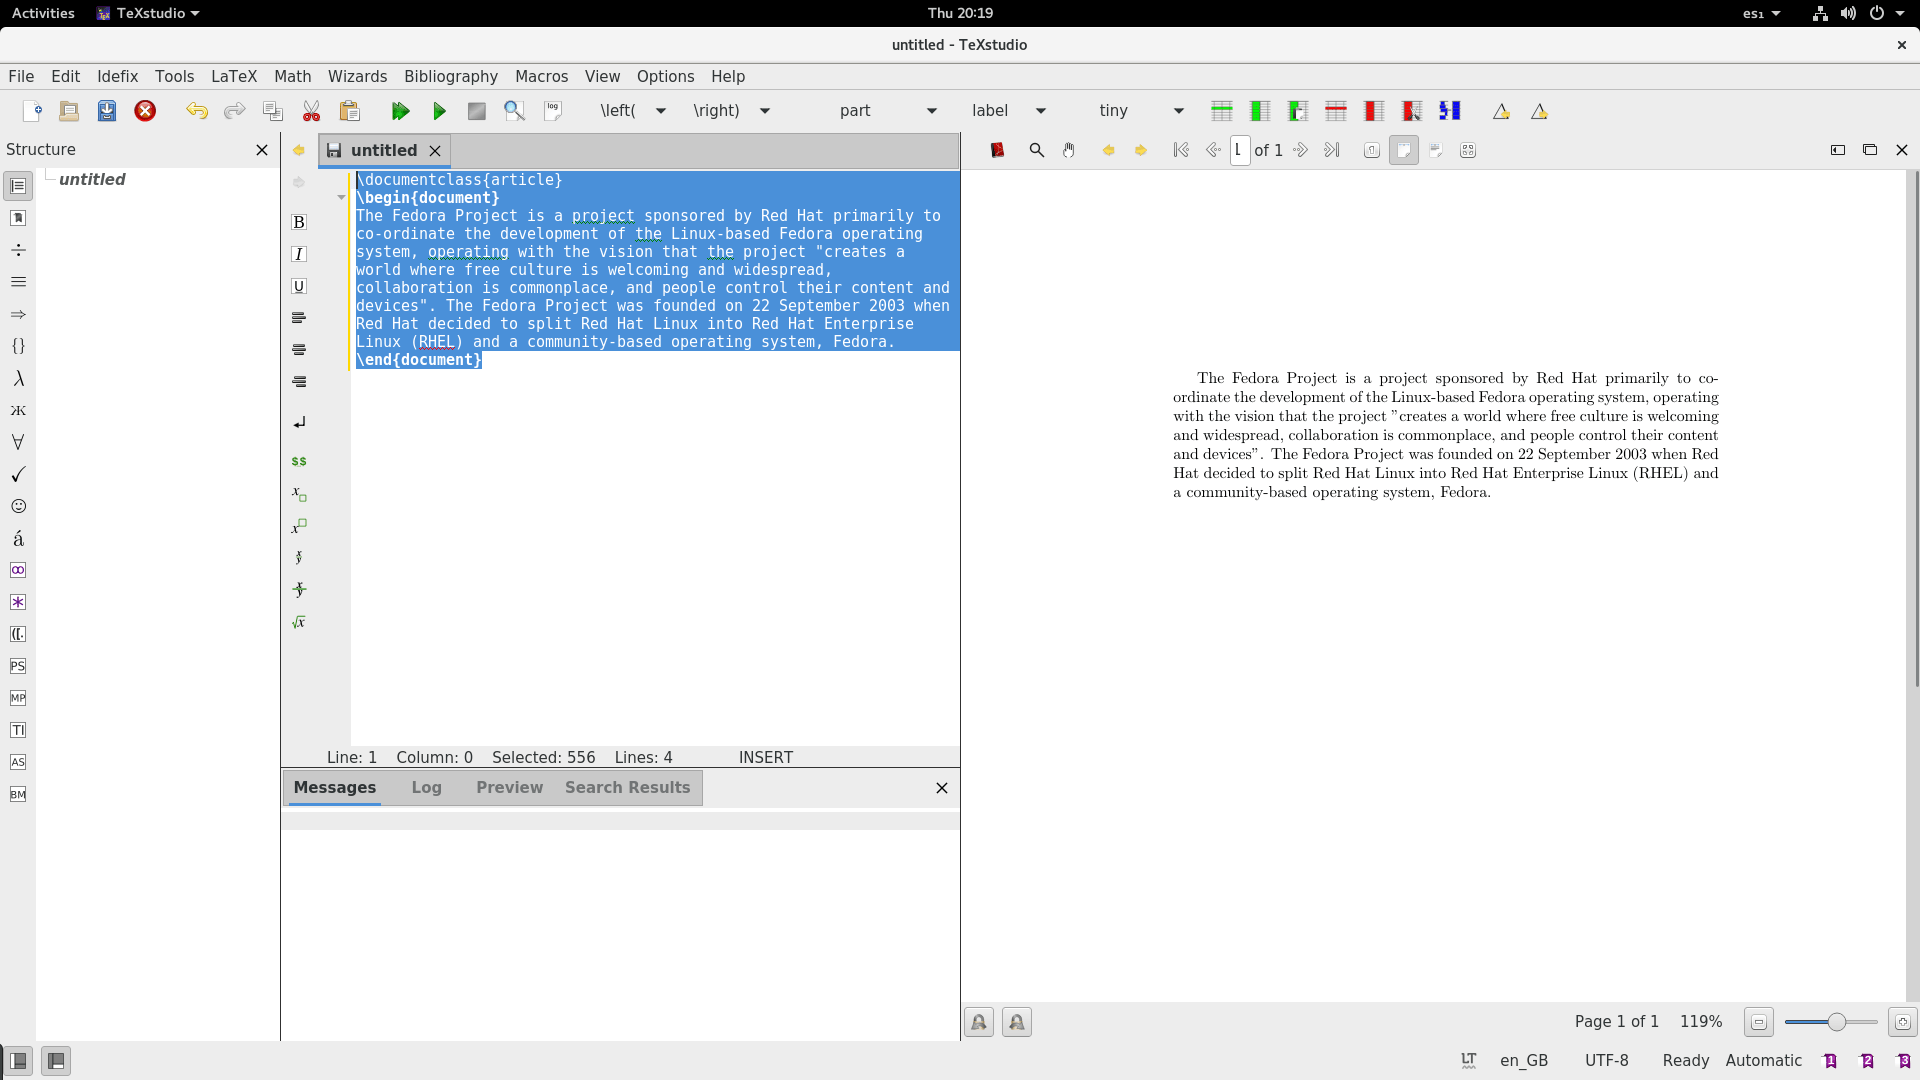
通过写一些短文就可以很容易掌握 LaTeX 基础。让我们从 Opensource.com 介绍页面借用一下内容,创建一个示例:
$ cat about.tex
\documentclass{article}
\begin{document}

Opensource.com is a premier, daily publication focused on
open source and Linux tutorials, stories, and resources.

We're a diverse and inviting group, made up of staff
editors, Correspondents, contributors, and readers. We
value differences in skills, talents, backgrounds, and
experiences. There are a few different ways to get involved
as a reader or a writer.

\end{document}
类似其他文档格式程序, LaTeX 会将单词汇集起来,填充成段落 。这意味着你可以在段落中间添加新文本,而不用担心最终文档的段落参差不齐。只要你不在段落中添加空行, LaTeX 就会创建完全对齐的段落。当它找到一个空行时, LaTeX 会开启一个新段落。
LaTeX 需要一些定义文档的控制语句。任何 LaTeX 文档应当以“文档类别”声明开始。LaTeX 支持多种文档,包括书信、书籍和文章。例如,我使用 \documentclass{article} 设置类别为 “文章” 。
使用 \begin{document} 和 \end{document} 声明来定义文本的开始和结束。如果你在 \begin{document} 前添加了文本,那么 LaTeX 会报错。在 \end{document} 之后的文本都会被忽略。
使用 LaTeX 的 latex 命令处理文档:
$ latex about.tex
This is pdfTeX, Version 3.141592653-2.6-1.40.22 (TeX Live 2021) (preloaded format=latex)
 restricted \write18 enabled.
entering extended mode
(./about.tex
LaTeX2e <2020-10-01> patch level 4
(/usr/share/texlive/texmf-dist/tex/latex/base/article.cls
Document Class: article 2020/04/10 v1.4m Standard LaTeX document class
(/usr/share/texlive/texmf-dist/tex/latex/base/size10.clo))
(/usr/share/texlive/texmf-dist/tex/latex/l3backend/l3backend-dvips.def)
No file about.aux.
[1] (./about.aux) )
Output written on about.dvi (1 page, 736 bytes).
Transcript written on about.log.
LaTeX 会输出许多文本,这样你就可以知道它在干什么。若你的文档包含错误, LaTeX 会报错并提示它可以做什么。大多数情况下,你可以在提示后输入 exit 来强制退出 LaTeX 。
如果用 LaTeX 成功生成一个文档,会生成一个带 .dvi 后缀的文件。DVI 表示 “ 设备无关 ”,因为你可以使用不同的工具来生成其他格式。例如, dvipdf 程序可以将 DVI 文件转换为 PDF 文件。
$ dvipdf about.dvi

添加列表
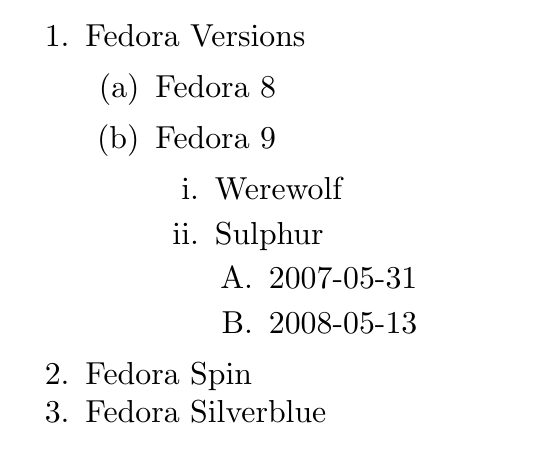
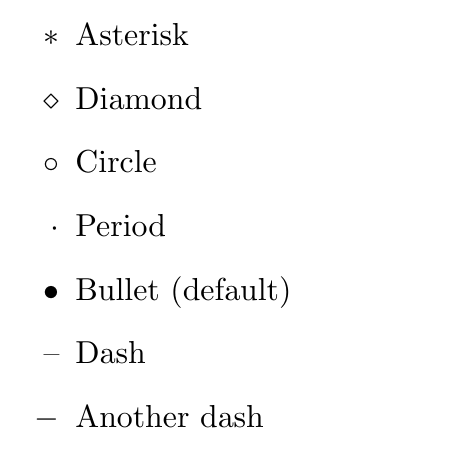
LaTeX 支持两种列表:一种以数字开头的 “枚举” 列表,一种 “逐项” 或 “项目符号” 列表。在第二段后添加一个简短的枚举列表,列出人们可以参与 Opensource.com 的方式:
\begin{enumerate}
\item Be a writer
\item Be a reader
\end{enumerate}
与在文档定义中添加 \begin 和 \end 声明类似,你也需要在列表前后添加 \begin 和 \end 声明。在列表中,每个项目以 \item 命令开始。当你用 LaTeX 处理该文档并转换为 PDF 格式后,你会看到该列表为数字列表:

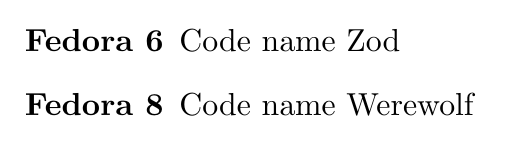
你也可以在列表中嵌套列表。这是一个优雅的功能,如果你需要在列表中为每个条目添加选项。例如,你可以为想要在 Opensource.com 中成为作者的人们提供一些不同的资源。嵌入列表使用单独的 \begin 和 \end 声明。为了看起来方便,我在示例中添加了空行,但是 LaTeX 会忽略这些空行:
\begin{enumerate}
\item Be a writer

  \begin{itemize}
  \item Resources for writers
  \item Contributor Club
  \item Correspondent Program
  \end{itemize}

\item Be a reader
\end{enumerate}
作为嵌套列表,新列表嵌入在编号 1 的项目中,因为你在原先的 \item 声明之间添加了列表。你可以通过在 \end{enumerate} 语句前添加新列表,作为编号 2 项目的嵌套列表。

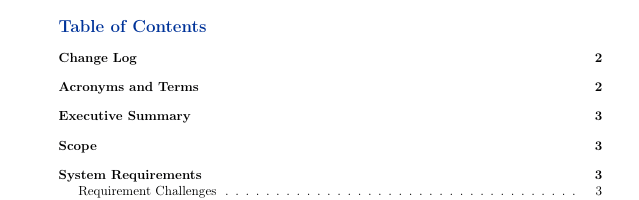
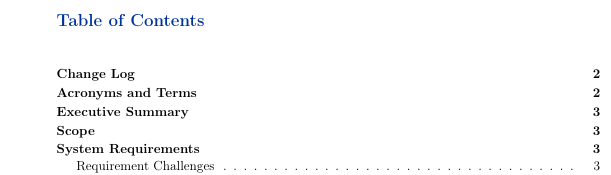
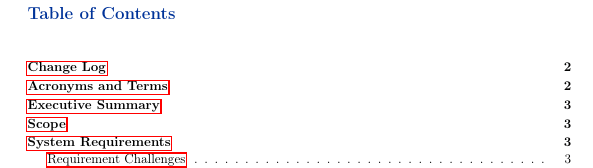
章节和小节
你可以将冗长文章分成多个章节,这样更易于阅读。使用 \section{...} 语句在大括号内添加章节标题。例如,你可以在文档顶部添加一个标题为 “About Opensource.com” 的新章节:
$ head about.tex
\documentclass{article}
\begin{document}

\section{About Opensource.com}

Opensource.com is a premier, daily publication focused on
open source and Linux tutorials, stories, and resources.

We're a diverse and inviting group, made up of staff
editors, Correspondents, contributors, and readers. We
article 文档类会在每个主要章节添加编号,并使字体变大来突出显示。

你可以使用 \subsection{...} 命令来组织文档。就像 \section{...} 命令一样,在大括号中输入副标题名称。
$ head about.tex
\documentclass{article}
\begin{document}

\section{About Opensource.com}

Opensource.com is a premier, daily publication focused on
open source and Linux tutorials, stories, and resources.

\subsection{Welcome to the Opensource.com community}

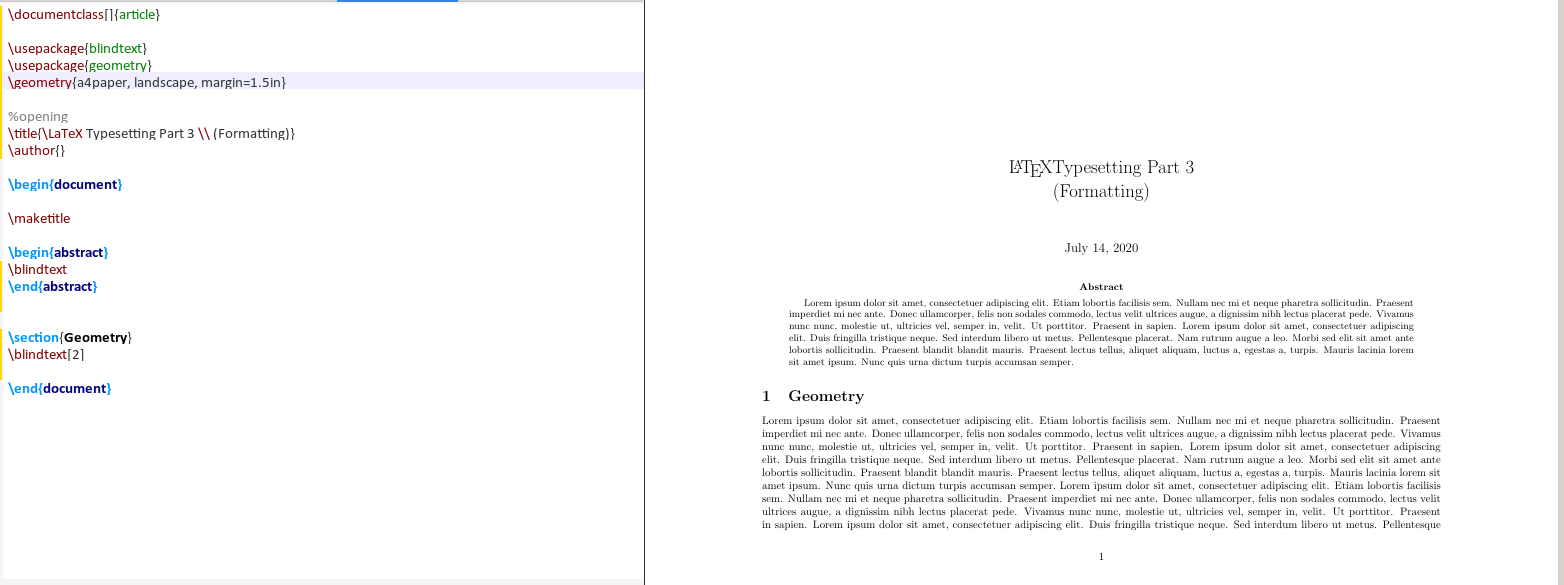
标题和作者
用于出版的科学类的文章需要标题、作者以及发表日期。LaTeX 提供了通过插入命令的方式来添加这些信息,然后使用单独的 \maketitle 命令生成文章的标题。
将 “About Us” 作为文章标题,作者为 “Opensource.com Editors”,发表日期为 “July 10, 2022” 。你必须在 \begin{document} 之后,文章内容前插入这些内容。
\title{About Us}
\author{Opensource.com Editors}
\date{July 10, 2022}
\maketitle
当你在生成文档时,LaTeX 会将标题、作者和日期添加到文章的顶部:

着重强调
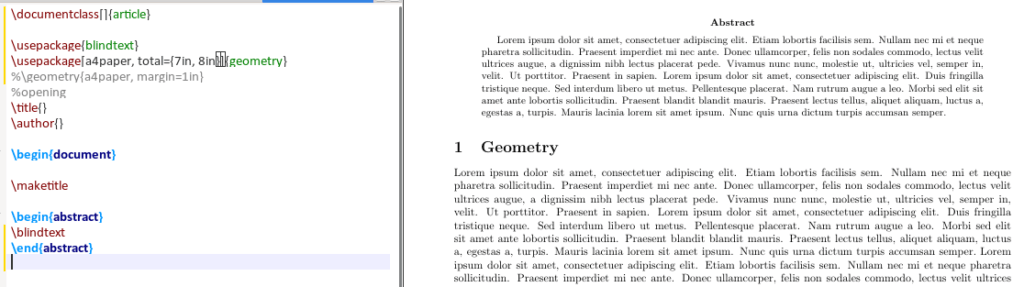
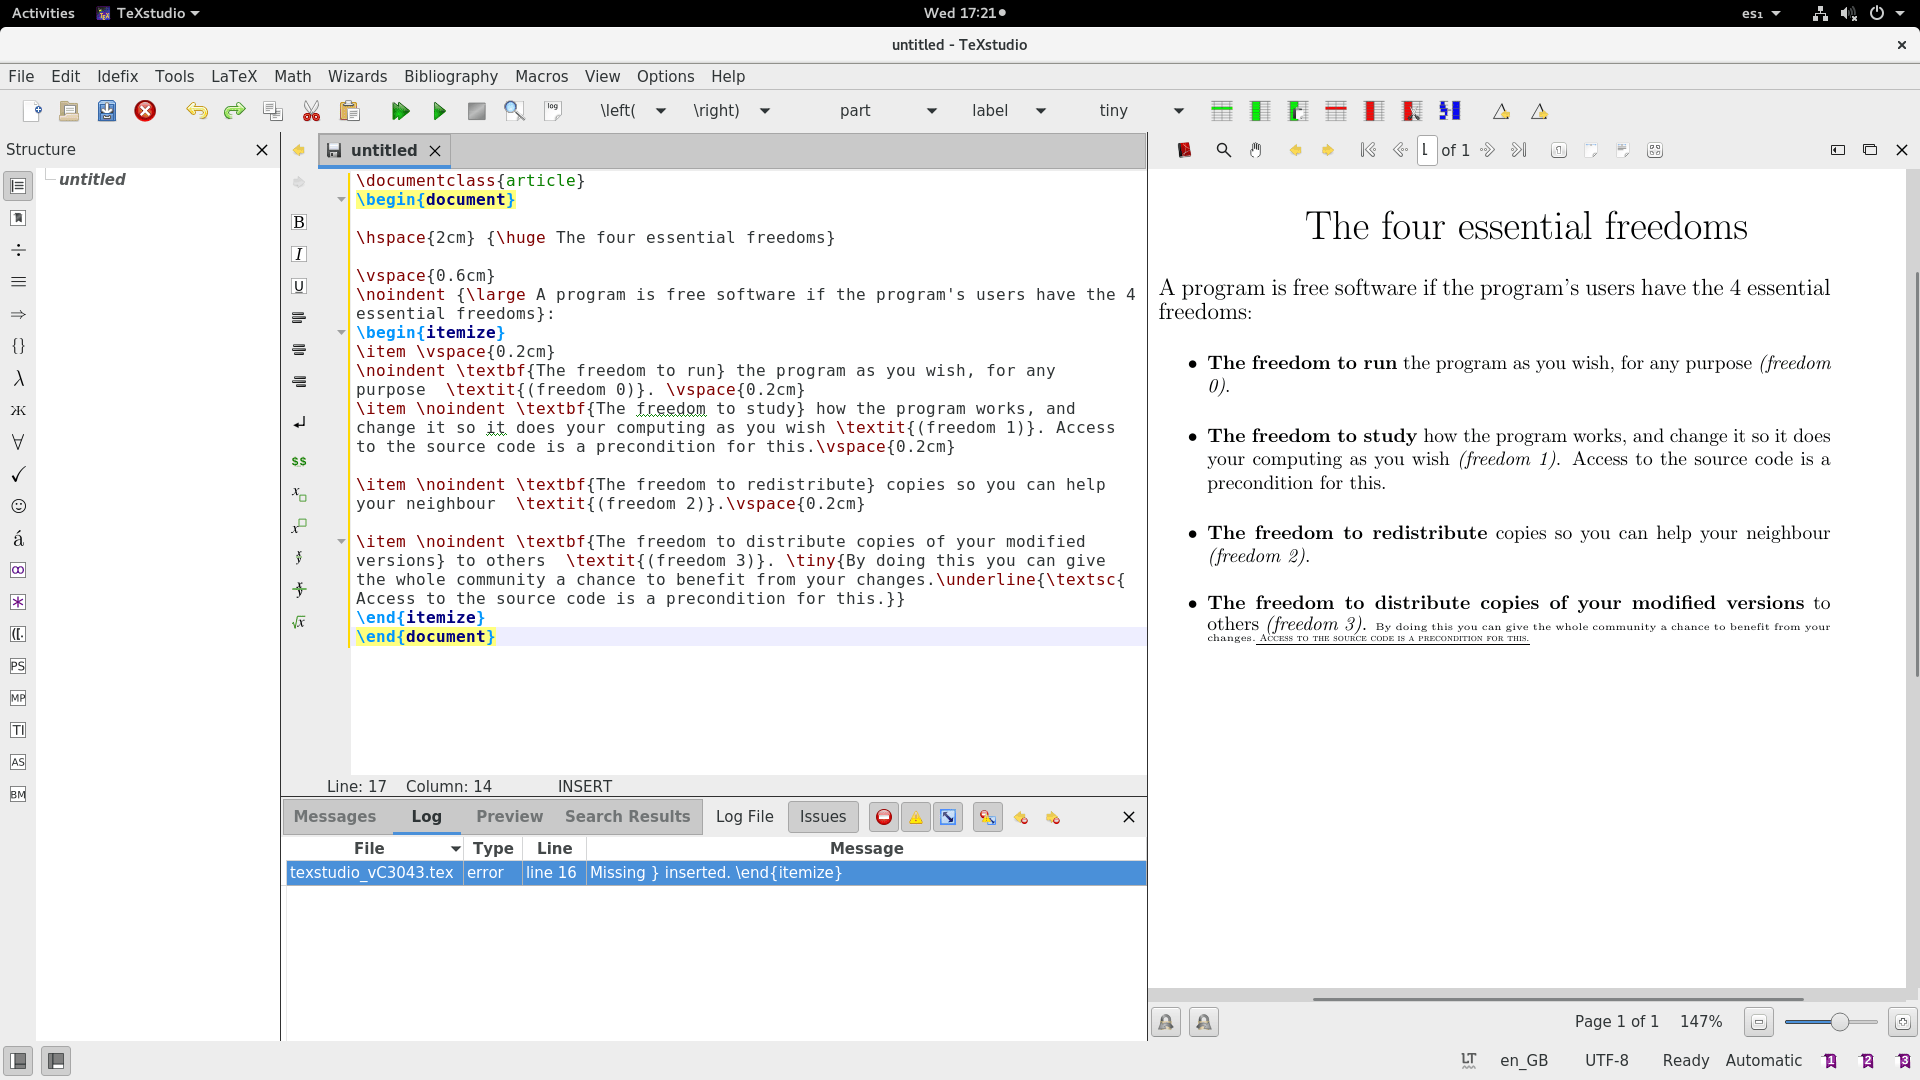
科学和其他技术类文章通常会突出术语和短语。 LaTeX 提供了几种可以在技术文档中使用的字体效果,包括强调文本(通常以斜体显示)、粗体文本和 小型大写字母 。
将短语“staff editors, Correspondents, contributors, and readers”放在斜体文本中,并将特定词“reader”和“writer”放在段落后面的强调文本中。你也可以将“skills, talents, backgrounds, and experiences”加粗。虽然这不是正确的样式设置方式,但你可以使用小型大写字母来键入 “Linux” 。
$ head -20 about.tex
\documentclass{article}
\begin{document}

\title{About Us}
\author{Opensource.com Editors}
\date{July 10, 2022}
\maketitle

\section{About Opensource.com}

Opensource.com is a premier, daily publication focused on
open source and \textsc{Linux} tutorials, stories, and resources.

\subsection{Welcome to the Opensource.com community}

We're a diverse and inviting group, made up of \textit{staff
editors, Correspondents, contributors, and readers}. We
value differences in \textbf{skills, talents, backgrounds, and
experiences}. There are a few different ways to get involved
as a \emph{reader} or a \emph{writer}.
该示例展示了不同样式的文本的应用方法。当你需要强调时,使用 \emph{...} 命令,将强调主题放在大括号内。要以斜体、粗体或小型大写字母显示文本,使用 \text 命令的变体:\textit{...} 用于斜体,\textbf{...} 用于粗体,以及 \ textsc{...} 用于小型大写字母。LaTeX 支持许多其他方式来设置文本样式,这些样式有助于你编写科学技术类文章。

使用 LaTeX
我只是介绍了使用 LaTeX 撰写科学技术文章的几种方式。你也可以在 LaTeX 中添加脚注,进行数学公式和方程的排版,取决于你的需求。你也可以通过阅读 Opensource.com 中的文章 《在 LaTeX 中创建文档的介绍》 ,了解使用 LaTeX 撰写科学技术文章的其他方式。
via: https://opensource.com/article/22/8/pdf-latex