ffsend:在命令行中通过 FireFox Send 分享文件

Linux 用户偏爱使用 scp 或 rsync 来进行文件或目录的复制拷贝。不过在 Linux 上正出现了许多新的可选方式,因为 Linux 是开源的,所以任何人都可以为 Linux 开发一个安全软件。
在过去我们已经写了多篇有关安全分享这个话题的文章,它们分别是 OnionShare、Magic Wormhole、Transfer.sh 和 Dcp – Dat Copy。
今天我们甚至还将继续讨论这个话题,我们将介绍名为 ffsend 的工具。
ffsend 是什么?
ffsend 是 Firefox Send 服务的一个命令行客户端,允许用户通过命令行来传递和接收文件或目录。
它允许我们通过一个安全、私密、加密的链接,使用一个简单的命令来轻易安全地分享文件和目录。
通过 Firefox 的 Send 服务共享的文件最大大小为 2GB(LCTT 译注:现在官网上写的是最大 1GB,登录后最大 2.5GB)。其他人可以通过这个工具或者网页浏览器来下载这些分享的文件。
所有的文件都是在客户端加密的,并且秘钥将不会被共享到远程主机。另外,你还可以为上传的文件额外设置一个密码。
上传的文件在下载(默认被下载 1 次,最多可被下载 10 次)后或者 24 小时后,就会自动删除。这将确保你的文件不会一直保留在网络上。
该工具当前处于 alpha 阶段,使用时请自担风险。而且,当前只有有限的安装方式可用。
ffsend 的特点:
- 全功能且使用友好的命令行工具
- 可以安全地上传和下载文件与目录
- 总是在客户端加密
- 可用额外的密码进行保护、密码生成和可配置下载次数限制
- 内置的文件或目录的打包和解压
- 可以轻松地管理你的历史分享记录
- 能够使用你自己的 Send 主机
- 审查或者删除共享文件
- 精准的错误报告
- 低内存消耗,用于加密或上传下载
- 无需交互,可以集成在脚本中
如何在 LInux 中安装 ffsend 呢?
当前除了 Debian 和 Arch Linux 系统,其他发行版还没有相应的安装包(LCTT 译注:这个信息已过时,最新内容请看这里)。然而,我们可以轻易地根据我们自己的操作系统和架构下载到相应的预编译二进制文件。
运行下面的命令来为你的操作系统下载 ffsend 最新可用的版本(LCTT 译注:当前最新版本为 v0.2.58):
$ wget https://github.com/timvisee/ffsend/releases/download/v0.1.2/ffsend-v0.1.2-linux-x64.tar.gz然后使用下面的命令来解压 tar 包:
$ tar -xvf ffsend-v0.1.2-linux-x64.tar.gz接着运行下面的命令来查看你的 PATH 环境变量:
$ echo $PATH
/home/daygeek/.cargo/bin:/usr/local/bin:/usr/local/sbin:/usr/bin:/usr/lib/jvm/default/bin:/usr/bin/site_perl:/usr/bin/vendor_perl:/usr/bin/core_perl
正如我先前告知的那样,下面我们要做的就是将这个可执行文件放置到 PATH 环境变量中的某个目录中:
$ sudo mv ffsend /usr/local/sbin直接运行 ffsend 可以获取其基本使用信息:
$ ffsend
ffsend 0.1.2
Usage: ffsend [FLAGS] ...

Easily and securely share files from the command line.
A fully featured Firefox Send client.

Missing subcommand. Here are the most used:
 ffsend upload ...
 ffsend download ...

To show all subcommands, features and other help:
 ffsend help [SUBCOMMAND]
对于使用基于 Arch Linux 系统的用户可以简单地借助 AUR 助手来安装它,因为这个包已经在 AUR 软件仓库中了。
$ yay -S ffsend对于使用 Debian/Ubuntu 系统的用户,使用 DPKG 命令来安装 ffsend。
$ wget https://github.com/timvisee/ffsend/releases/download/v0.1.2/ffsend_0.1.2_amd64.deb
$ sudo dpkg -i ffsend_0.1.2_amd64.deb
如何使用 ffsend
这并不复杂,我们可以简单地通过下面的语法来发送文件。
语法:
$ ffsend upload [/Path/to/the/file/name]在下面的例子中,我们将上传一个名为 passwd-up1.sh 的文件,一旦你上传了该文件,你将得到一个唯一的 URL。
$ ffsend upload passwd-up1.sh --copy
Upload complete
Share link: https://send.firefox.com/download/a4062553f4/#yy2_VyPaUMG5HwXZzYRmpQ
在任何远端的系统上,只需要使用上面那个唯一的 URL 就可以下载上传的文件了。
语法:
$ ffsend download [Generated URL]命令的输出如下:
$ ffsend download https://send.firefox.com/download/a4062553f4/#yy2_VyPaUMG5HwXZzYRmpQ
Download complete
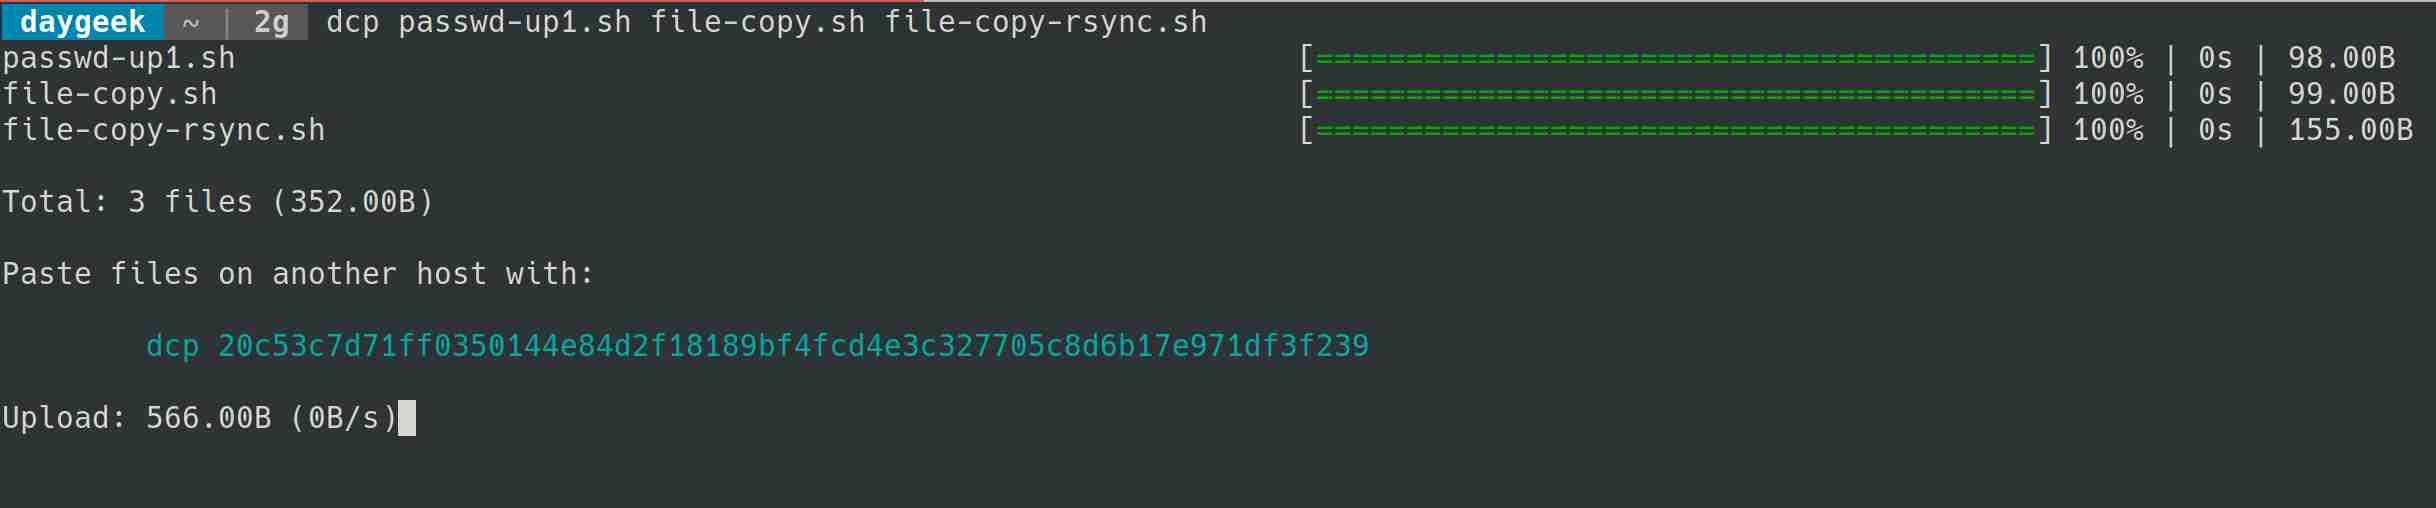
使用下面的语法来对目录进行上传:
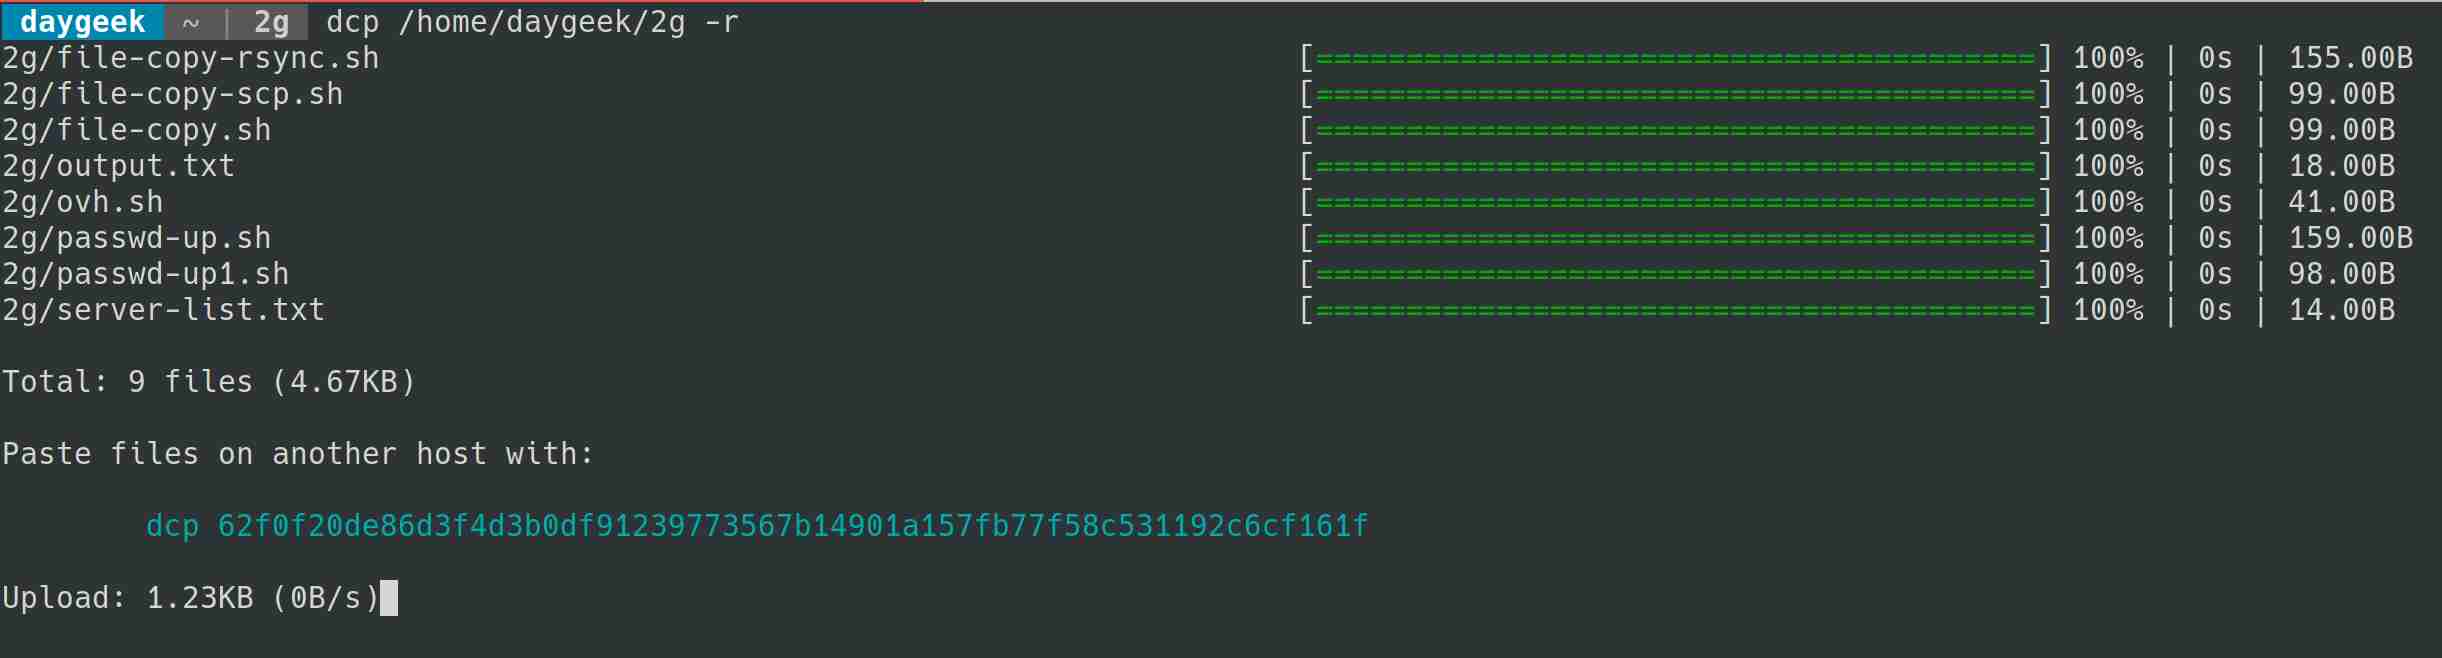
$ ffsend upload [/Path/to/the/Directory] --copy在下面的例子中,我们将上传一个名为 2g 的目录:
$ ffsend upload /home/daygeek/2g --copy
You've selected a directory, only a single file may be uploaded.
Archive the directory into a single file? [Y/n]: y
Archiving...
Upload complete
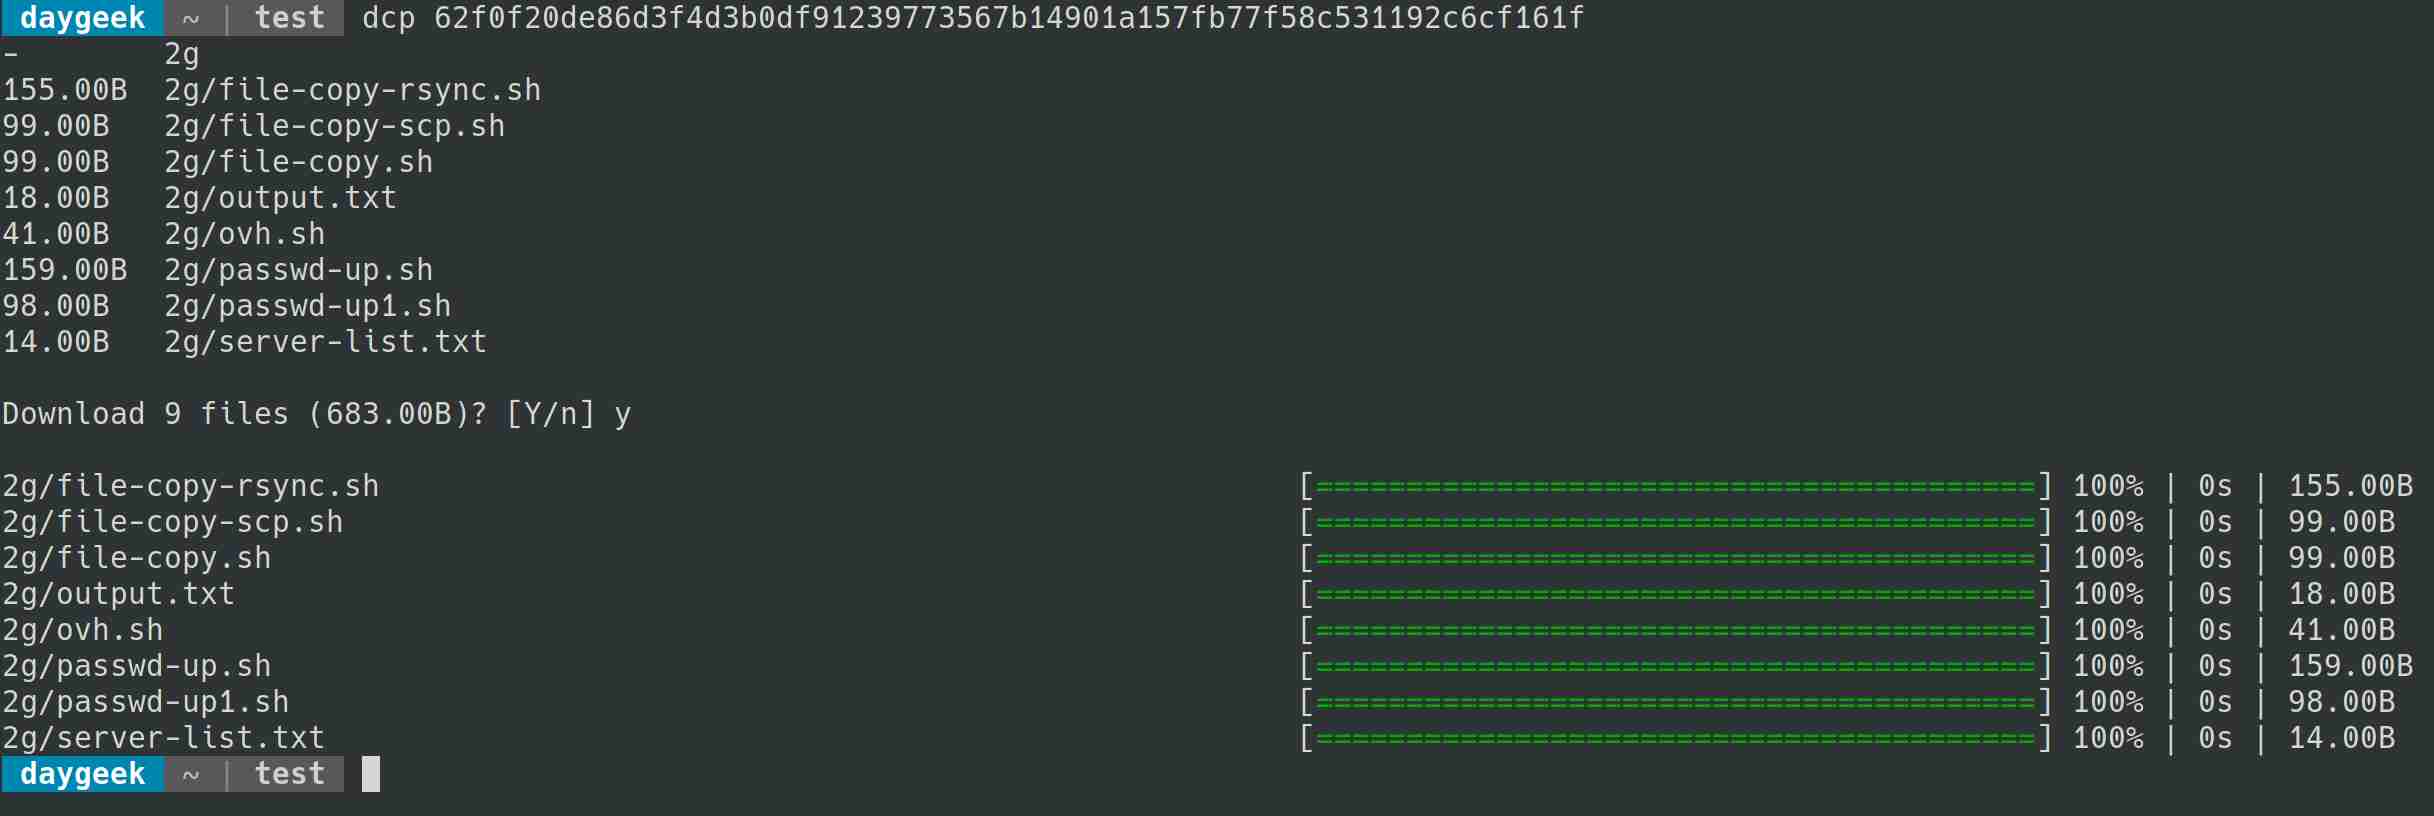
Share link: https://send.firefox.com/download/90aa5cfe67/#hrwu6oXZRG2DNh8vOc3BGg在任意的远端系统中,只需要利用上面生成的唯一 URL 就可以获取到刚才上传的目录了。
$ ffsend download https://send.firefox.com/download/90aa5cfe67/#hrwu6oXZRG2DNh8vOc3BGg
You're downloading an archive, extract it into the selected directory? [Y/n]: y
Extracting...
Download complete
上面已经通过安全、私密和加密过的链接来发送了文件。然而,如果你想在你的掌控范围内再添加额外的安全措施,你可以为文件添加密码。
$ ffsend upload file-copy-rsync.sh --copy --password
Password:
Upload complete
Share link: https://send.firefox.com/download/0742d24515/#P7gcNiwZJ87vF8cumU71zA
当你在远端系统中尝试下载该文件时,它将要求你输入密码:
$ ffsend download https://send.firefox.com/download/0742d24515/#P7gcNiwZJ87vF8cumU71zA
This file is protected with a password.
Password:
Download complete
另外,你还可以在上传过程中提供下载次数限制来限制文件被下载的次数。
$ ffsend upload file-copy-scp.sh --copy --downloads 10
Upload complete
Share link: https://send.firefox.com/download/23cb923c4e/#LVg6K0CIb7Y9KfJRNZDQGw
然后你可以在任意的远程系统中使用上面的唯一 URL 来下载该文件:
ffsend download https://send.firefox.com/download/23cb923c4e/#LVg6K0CIb7Y9KfJRNZDQGw
Download complete
假如你想看这个链接的更多细节,你可以使用下面的命令来查看它的信息,它将为你展示文件名称、文件大小、被下载次数以及过期时间。
语法:
$ ffsend info [Generated URL]

$ ffsend info https://send.firefox.com/download/23cb923c4e/#LVg6K0CIb7Y9KfJRNZDQGw
ID: 23cb923c4e
Name: file-copy-scp.sh
Size: 115 B
MIME: application/x-sh
Downloads: 3 of 10
Expiry: 23h58m (86280s)
此外,你还可以使用下面的命令来查看你的传输历史:
$ ffsend history
# LINK EXPIRY
1 https://send.firefox.com/download/23cb923c4e/#LVg6K0CIb7Y9KfJRNZDQGw 23h57m
2 https://send.firefox.com/download/0742d24515/#P7gcNiwZJ87vF8cumU71zA 23h55m
3 https://send.firefox.com/download/90aa5cfe67/#hrwu6oXZRG2DNh8vOc3BGg 23h52m
4 https://send.firefox.com/download/a4062553f4/#yy2_VyPaUMG5HwXZzYRmpQ 23h46m
5 https://send.firefox.com/download/74ff30e43e/#NYfDOUp_Ai-RKg5g0fCZXw 23h44m
6 https://send.firefox.com/download/69afaab1f9/#5z51_94jtxcUCJNNvf6RcA 23h43m
假如你不想再分享某个链接,你可以使用下面的语法来删除它:
语法:
$ ffsend delete [Generated URL]

$ ffsend delete https://send.firefox.com/download/69afaab1f9/#5z51_94jtxcUCJNNvf6RcA
File deleted
如何在浏览器中使用 Send
另外,你还可以通过使用 firefox 浏览器打开 https://send.firefox.com/ 来完成相应的分享。
只需要拖拽该文件就可以上传它:
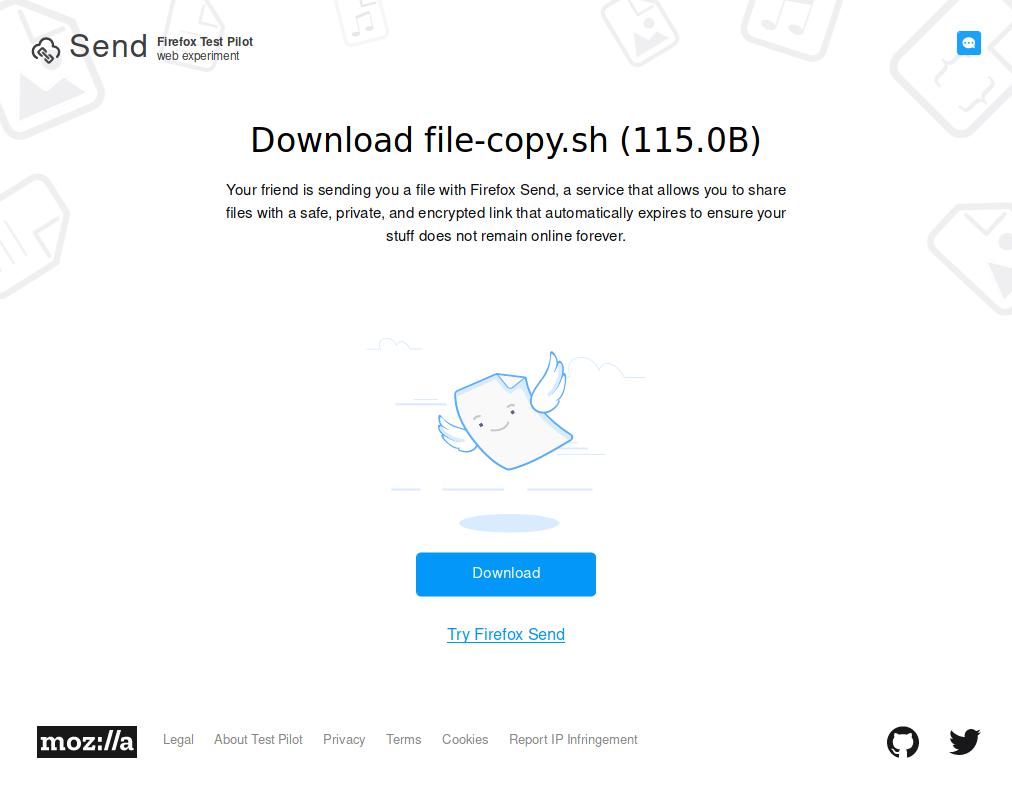
一旦该文件被下载,它将展示 100% 的下载状态。
想查看其他的可能选项,请浏览它对应的 man 信息或者帮助页。
作者:Vinoth Kumar 选题:lujun9972 译者:FSSlc 校对:wxy