LEMP是一个操作系统和几个开源软件包的合称。缩写LEMP来自 Linux,Nginx(发音是 engine-x)HTTP服务器, MySQL数据库,和 PHP/ Perl/ Python的首字母。
在这篇教程里,让我们看一下如何在 Ubuntu 14.10 上安装 Nginx,MySQL 或 MariaDB,PHP 和 phpMyAdmin。
安装Nginx
Nginx (发音是engine-x)是一个免费的、开源的、高性能HTTP服务器和反向代理,也可以用作IMAP/POP3代理服务器,它是由Igor Sysoev开发。
要安装Nginx,在你的终端里输入下面的命令:
注意:如果你的系统里已经安装了apache2,先卸载掉以避免冲突。要卸载apache,运行下面的命令:
sudo apt-get purge apache2*
sudo apt-get autoremove -y
现在,用下面的命令安装nginx:
sudo apt-get install nginx
用下面的命令启用Nginx服务:
sudo service nginx start
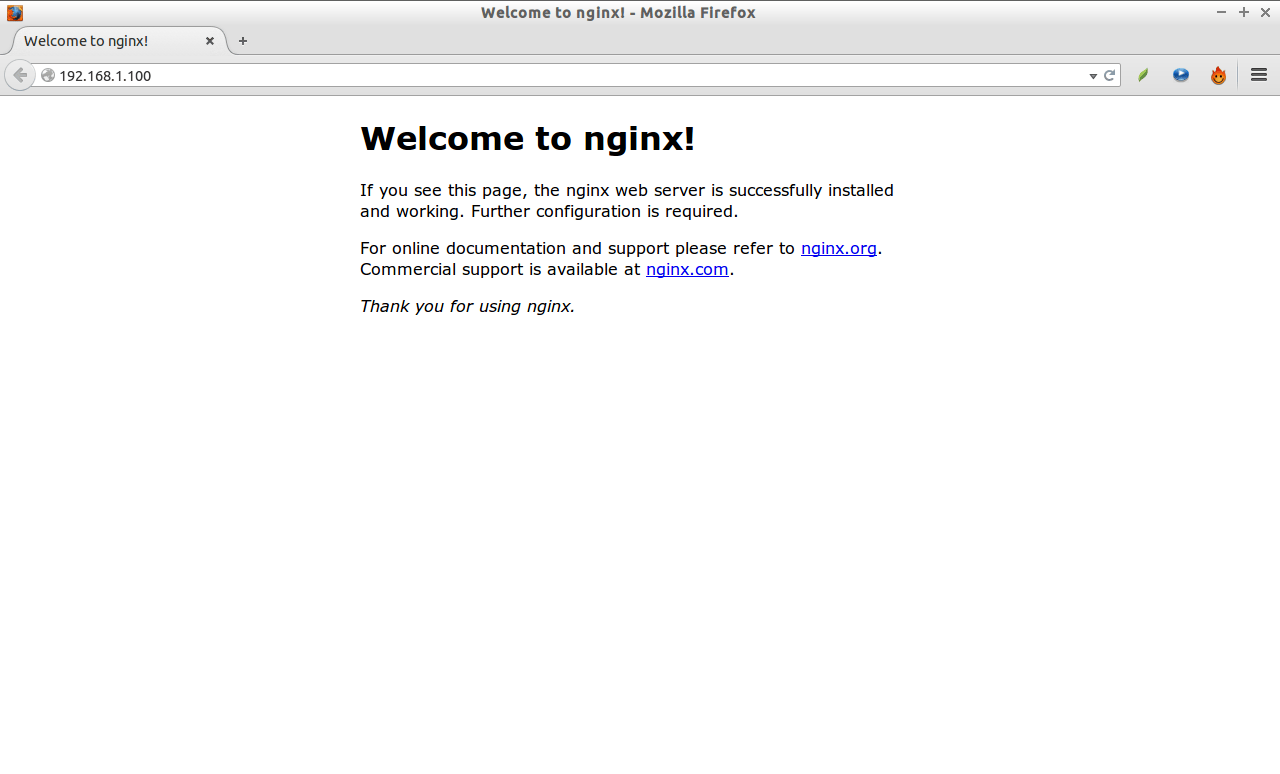
测试 nginx
打开你的浏览器访问http://IP地址/或者http://localhost/。将可以看到类似下面的截图。
配置 Nginx
用任意文本编辑器打开文件/etc/nginx/nginx.conf
sudo nano /etc/nginx/nginx.conf
设置 worker\_processes(例如,你系统里CPU数目)。查看CPU数目,可以使用命令“lscpu”。在我这里是“1”。所以我把这个值设为1。
worker_processes 1;
重启 Nginx 服务:
sudo service nginx restart
默认虚拟主机(服务器模块)定义在文件/etc/nginx/sites-available/default里。
用任意文本编辑器打开文件/etc/nginx/sites-available/default。
sudo nano /etc/nginx/sites-available/default
在Server区域里,按如下设置服务器FQDN或IP地址。确保你增加了index.php这一行。
[...]
server {
      listen 80 default_server;
      listen [::]:80 default_server ipv6only=on;
      root /usr/share/nginx/html;
      index index.php index.html index.htm;
      # Make site accessible from http://localhost/
      server_name server.unixmen.local;
[...]
这里面
- listen 80; –> 监听ipv4端口
- listen [::]:80 default\_server ipv6only=on; –> 监听ipv6宽口
- root /usr/share/nginx/html; –> 文件根目录
- server\_name server.unixmen.local; –> 服务器FQDN
现在,向下滚动找到区域#location ~ .php$。去掉注释并按如下修改:
 location ~ \.php$ {
         try_files $uri =404;   ---------> Add this line
         fastcgi_split_path_info ^(.+\.php)(/.+)$;
         #       # NOTE: You should have "cgi.fix_pathinfo = 0;" in php.ini
         #
         #       # With php5-cgi alone:
         #       fastcgi_pass 127.0.0.1:9000;
         #       # With php5-fpm:
         fastcgi_pass unix:/var/run/php5-fpm.sock;
         fastcgi_index index.php;
         include fastcgi.conf;
    }
这里面,我增加了额外一行‘try\_files $uri =404;’用于避免0day漏洞。
保存文件并退出。
测试 nginx 配置
使用下面的命令测试nginx配置是否存在语法错误:
sudo nginx -t
典型输出:
nginx: the configuration file /etc/nginx/nginx.conf syntax is ok
nginx: configuration file /etc/nginx/nginx.conf test is successful
最后重启nginx服务
sudo service nginx restart
安装 MySQL
MySQL是一个关系型数据库管理系统(RDBMS),作为服务启动提供给多用户访问多种数据库,尽管SQLite可能有更多的嵌入式部署。
sudo apt-get install mysql-server mysql-client
在安装过程中,会提示你设置MySQL超级用户密码。输入密码并按确认。
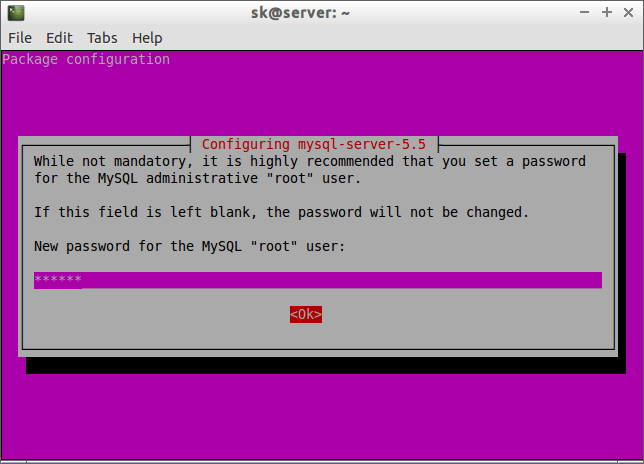
重新输入密码。
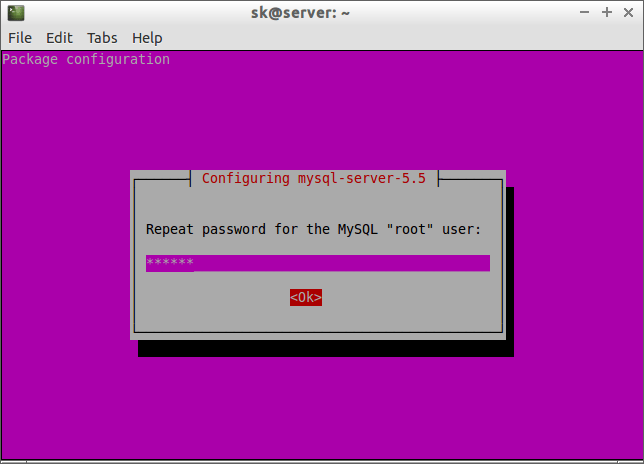
现在,MySQL服务器就安装好了。
你可以用下面的命令检查 MySQL 服务器状态:
sudo service mysql status
典型输出:
mysql start/running, process 5671
注意:如果你希望使用MariaDB而不是MySQL,可以参考下面的步骤。
安装 MariaDB
MariaDB是 MySQL 的一个直接替代软件。它是一个稳定、可扩展又可靠的SQL服务器,包含许多增强功能。
首先,如果有的话你得先卸载掉 MySQL。要完全卸载 MySQL 包括配置文件,输入如下命令:
sudo apt-get purge mysql*
运行如下命令清除不需要的软件包。
sudo apt-get autoremove
在卸载完MySQL后,运行如下命令安装MariaDB。
sudo apt-get install mariadb-server mariadb-client
另外,如果你希望体验最新版的MariaDB,可以从MariaDB仓库安装。运行下面的命令添加PPA。在写这篇文章的时候,MariaDB PPA还没有更新 Ubuntu 14.10。不过,我们还是可以使用 Ubuntu 14.04 的仓库来替代。
sudo apt-get install software-properties-common
sudo apt-key adv --recv-keys --keyserver hkp://keyserver.ubuntu.com:80 0xcbcb082a1bb943db
sudo add-apt-repository 'deb http://sgp1.mirrors.digitalocean.com/mariadb/repo/5.5/ubuntu trusty main'
用如下命令更新一下软件源列表,然后安装MariaDB:
sudo apt-get update
sudo apt-get install mariadb-server mariadb-client -y
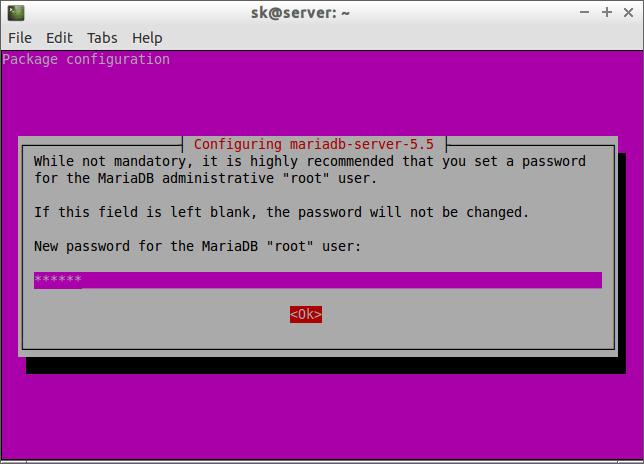
在安装过程中,会提示你设置数据库‘root’用户密码。
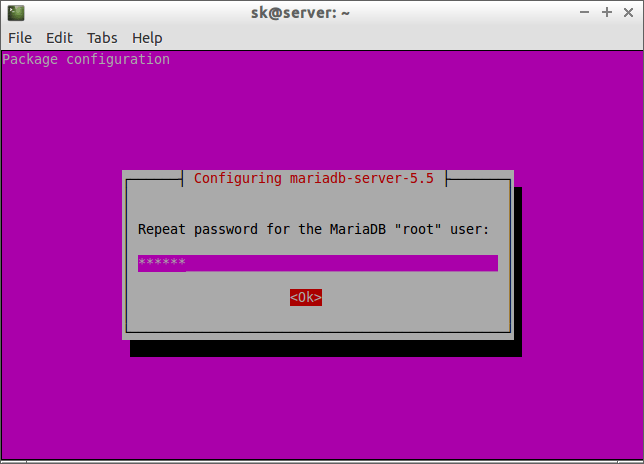
重新输入一次密码:
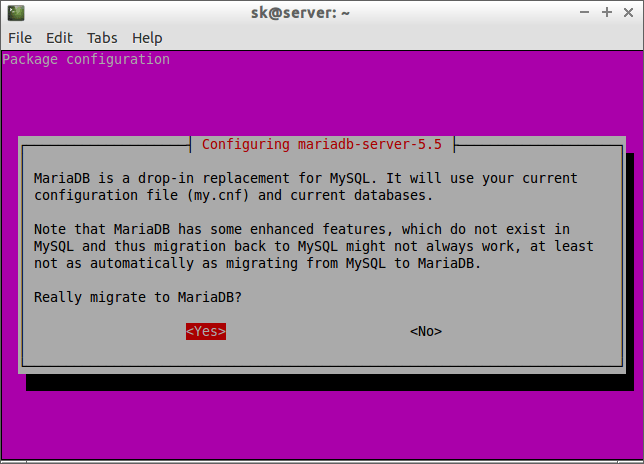
点击‘是’迁移到 MariaDB。注意一下,如果在安装MariaDB之前没有装过 MySQL 的话,不会提示你这个问题。
你可以用如下命令检查 MariaDB 版本:
sudo mysql -v -u root -p
典型输出:
Welcome to the MariaDB monitor.  Commands end with ; or \g.
Your MariaDB connection id is 34
Server version: 5.5.39-MariaDB-2 (Ubuntu)

Copyright (c) 2000, 2014, Oracle, Monty Program Ab and others.

Reading history-file /home/sk/.mysql_history
Type 'help;' or '\h' for help. Type '\c' to clear the current input statement.
用如下命令检查MariaDB是否已经开始运行:
sudo service mysql status
典型输出:
 * /usr/bin/mysqladmin  Ver 9.0 Distrib 5.5.39-MariaDB, for debian-linux-gnu on x86_64
Copyright (c) 2000, 2014, Oracle, Monty Program Ab and others.

Server version        5.5.39-MariaDB-2
Protocol version    10
Connection        Localhost via UNIX socket
UNIX socket        /var/run/mysqld/mysqld.sock
Uptime:            2 min 21 sec

Threads: 1  Questions: 566  Slow queries: 0  Opens: 330  Flush tables: 4  Open tables: 22  Queries per second avg: 4.014
安装 PHP
PHP(PHP: Hypertext Preprocessor的递归缩写)是一个应用广泛的开源通用脚本语言,特别适合于网页开发,可以直接嵌入到 HTML 中。
使用如下命令安装PHP:
sudo apt-get install php5 php5-fpm php5-mysql
配置PHP
用任意文本编辑器打开php.ini文件:
sudo nano /etc/php5/fpm/php.ini
找到这一行‘cgi.fix\_pathinfo=1′,去掉注释并把值1改为0。
cgi.fix_pathinfo=0
现在重启php-fpm服务。
sudo service php5-fpm restart
测试 PHP
在nginx文档根目录下创建一个测试文件“testphp.php”。
sudo nano /usr/share/nginx/html/testphp.php
加入下面几行。
<?php
 phpinfo();
?>
保存文件并退出。
访问地址http://server-ip-address/testphp.php。将显示出所有关于 php 的信息,比如版本、构建日期以及命令等等。
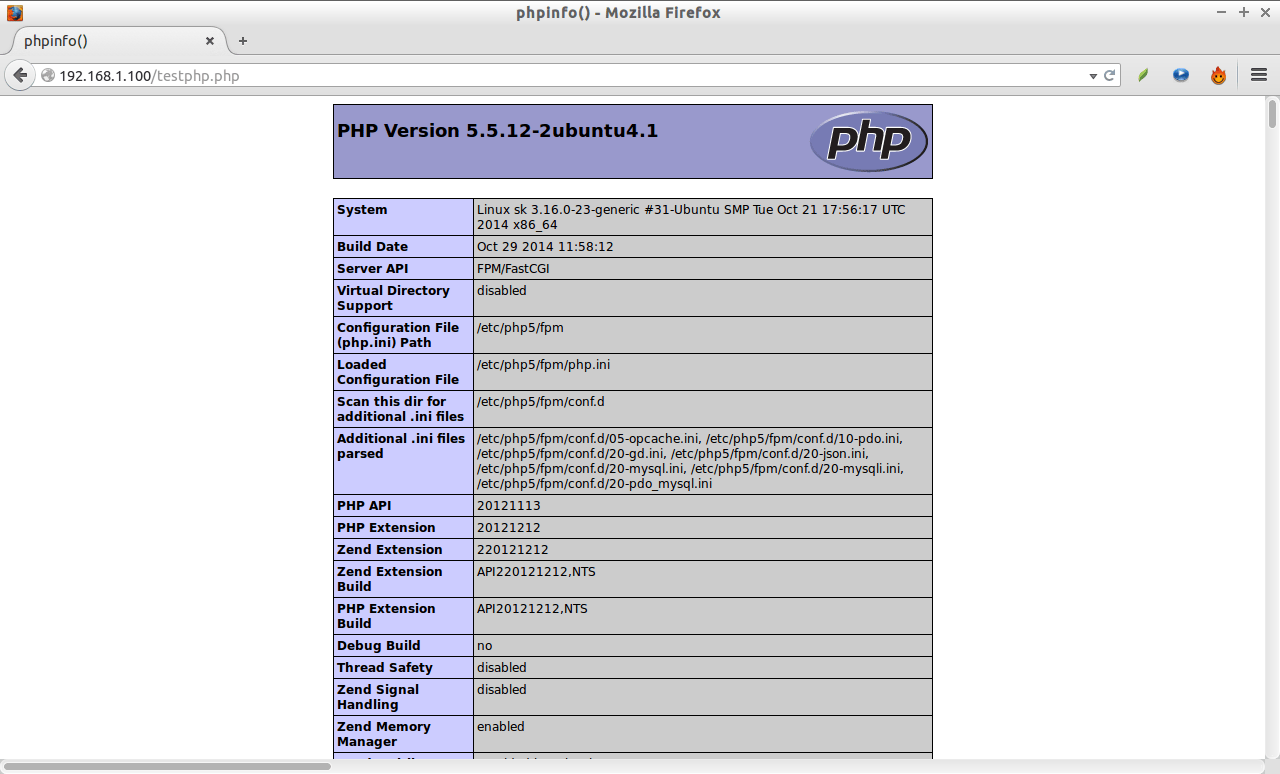
PHP-FPM会默认监听套接字/var/run/php5-fpm.sock。如果你希望PHP-FPM使用TCP连接,打开文件/etc/php5/fpm/pool.d/www.conf,
sudo nano /etc/php5/fpm/pool.d/www.conf
找到这一行listen = /var/run/php5-fpm.sock,
;listen = /var/run/php5-fpm.sock
把它改成listen = 127.0.0.1:9000。
listen = 127.0.0.1:9000
保存退出。重启 php5-fpm 服务。
sudo service php5-fpm restart
现在打开 nginx 配置文件:
sudo nano /etc/nginx/sites-available/default
找到这一行fastcgi\_pass unix:/var/run/php5-fpm.sock;,参考下面把它改成 fastcgi\_pass 127.0.0.1:9000;。
location ~ \.php$ {
        try_files $uri =404;
        fastcgi_split_path_info ^(.+\.php)(/.+)$;fastcgi_pass 127.0.0.1:9000;
        #       # NOTE: You should have "cgi.fix_pathinfo = 0;" in php.ini
        #
        #       # With php5-cgi alone:
        fastcgi_pass 127.0.0.1:9000;
        #       # With php5-fpm:
        #        fastcgi_pass unix:/var/run/php5-fpm.sock;
        fastcgi_index index.php;
        include fastcgi.conf;
   }
保存退出。最后重启 nginx 服务。
sudo service nginx restart
使用 phpMyAdmin 管理 MySQL 数据库(可选)
phpMyAdmin是一个免费的开源网页界面工具,用来管理你的 MySQL 数据库。
安装 phpMyAdmin
在 Debian 官方仓库里就有。所以可以用下面的命令安装:
sudo apt-get install phpmyadmin
选择一个网页服务器。默认情况下,这里不会显示 nginx。所以,选择 apache 或者 lighttpd,然后我们再把 phpMyAdmin 和 nginx 连接起来工作。
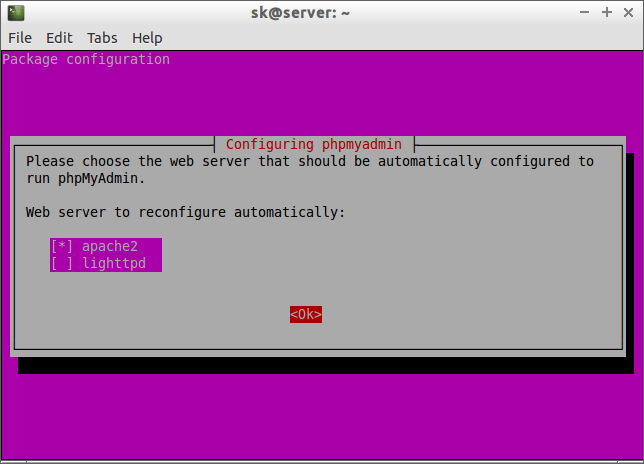
选择‘是’通过dbconfig-common为phpMyAdmin配置数据库。
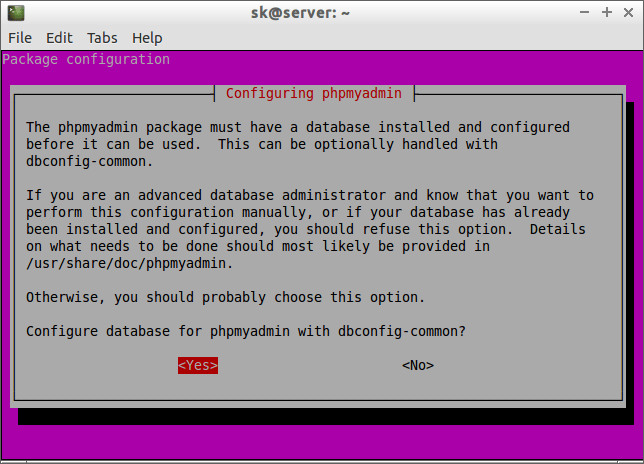
输入数据库的管理员账号密码。
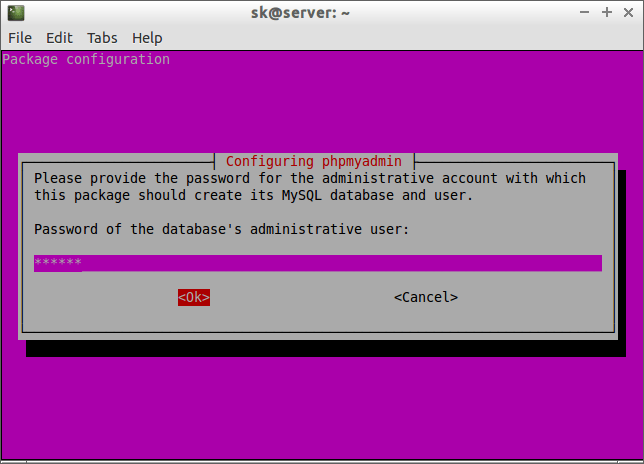
输入 phpmyadmin 帐号的 MySQL 密码:
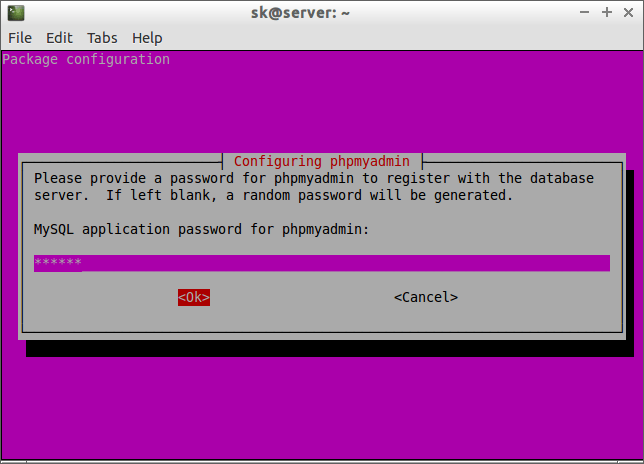
重新输入一次密码。
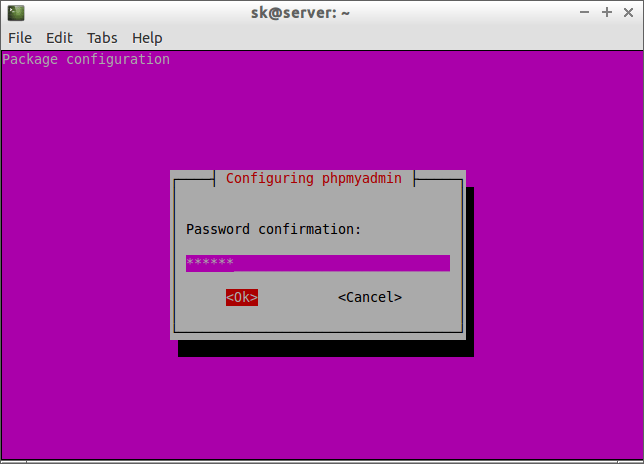
phpMyAdmin 就安装完成了。
创建一个 phpMyAdmin 的软连接到网站根目录。这里我们的网站根文档目录是/usr/share/nginx/html/。
sudo ln -s /usr/share/phpmyadmin/ /usr/share/nginx/html
重启 nginx 服务。
sudo service nginx restart
访问 phpMyAdmin 网页控制台
现在你可以在浏览器中通过地址http://server-ip-address/phpmyadmin/访问 phpMyAdmin 的控制台了。
输入你在前面步骤里留下的 MySQL 用户名和密码。在我这里是“root”和“ubuntu”。
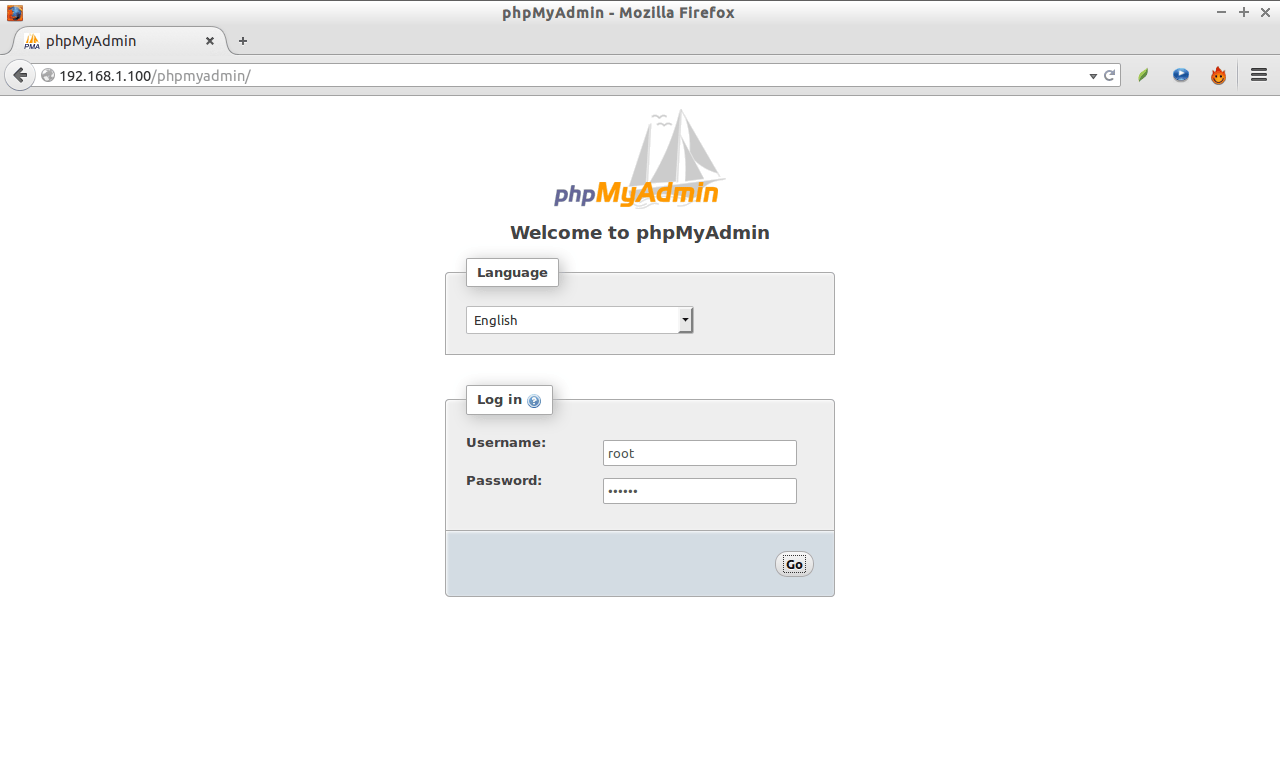
就可以重定向到 phpMyAdmin 的网页管理首页。
src="https://img.linux.net.cn/data/attachment/album/201411/15/170711vy3tvt3cvv27bv8v.png" />
现在你就可以在 phpMyAdmin 网页里管理你的 MyQL 数据库了。
就这样。你的 LEMP 服务器已经配置完毕,可以使用了。
via: http://www.unixmen.com/install-lemp-server-nginx-mysql-mariadb-php-phpmyadmin-ubuntu-14-1014-0413-10/
作者:SK 译者:zpl1025 校对:Caroline
本文由 LCTT 原创翻译,Linux中国 荣誉推出

